 |
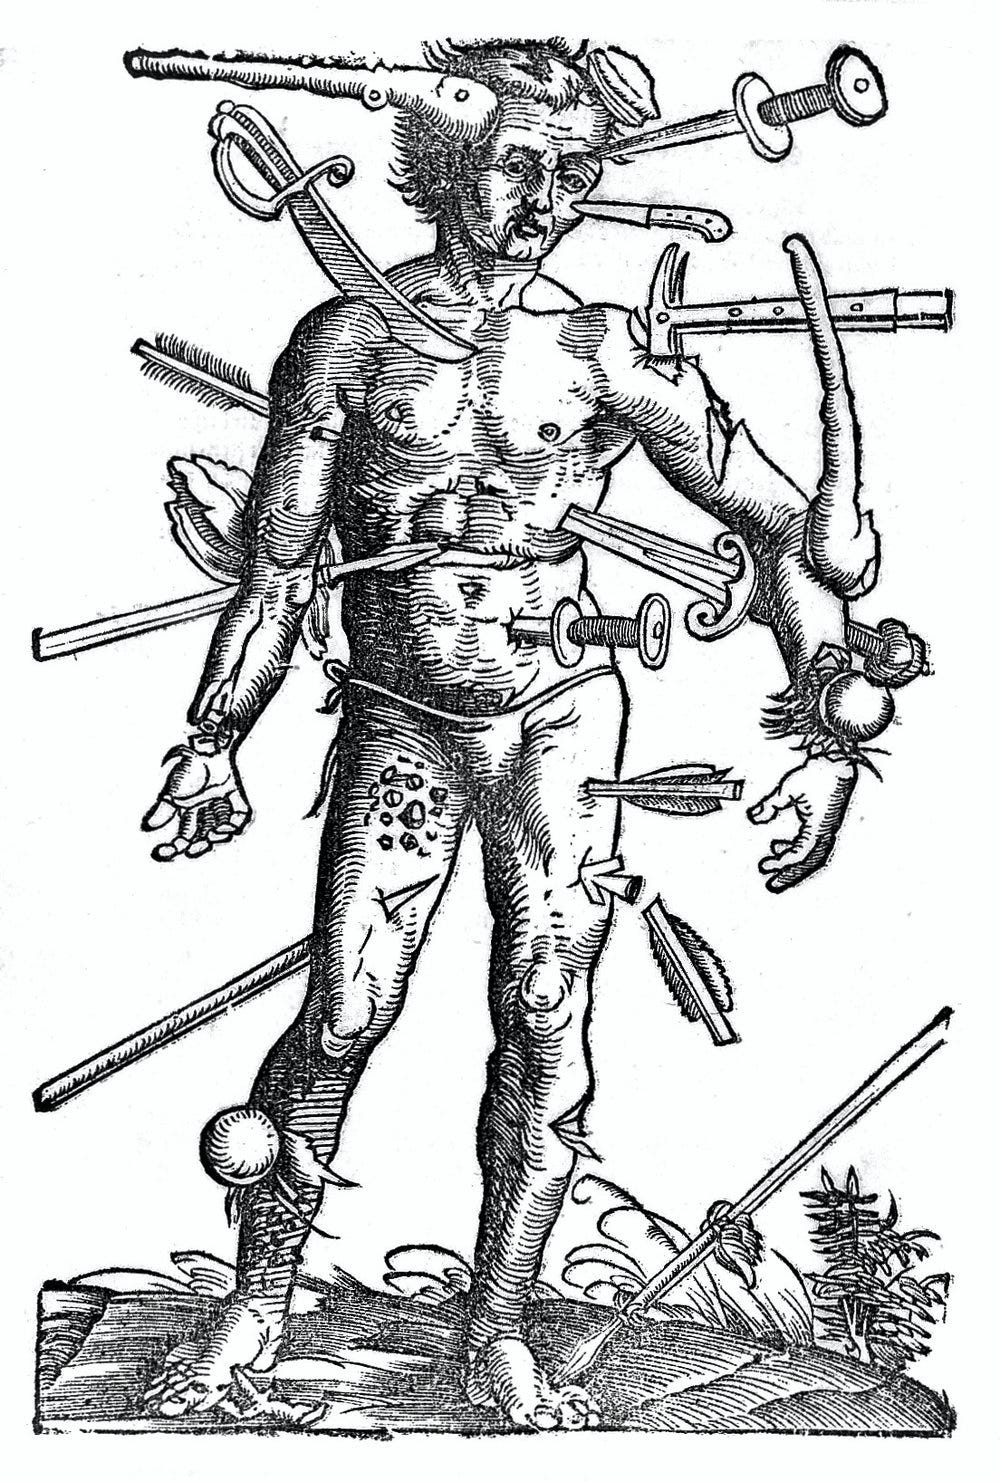
| Tis but a scratch! |
I fucking love hit locations in WFRP. Swapping the tens and units to get a number you can refer on the hit location chart is elegant. Alas I had two goals that forced me to defenestrate this classic solution: less rolling when making an attack and putting a bigger emphasis on choosing hit locations. Also, the front facing hit location tables are prone to giving nonsensical results, and fixing that would require either further hit location tables, or tampering with the numbers - and I'm too lazy to do either.
Damage: When you land a successful blow you don't roll damage die. You take the units instead, and add your damage bonuses to that. If the units die landed on 0, your damage is a 10, and you roll an additional d10. Each additional d10 also explodes in a similar way on 0. For example, if you hit someone with a roll of 18 while wielding a battle axe of +7 damage, your damage total is 15. If you hit someone with a roll of 20 and your additional dice lands on a 5, your damage total is 22.
Yeah, there is still a 10% chance you have to roll an additional die, and 1% chance that you have to roll two of them, but I'm okay with that. Rolling maximum damage already breaks the game's momentum, because everyone stops to cheer, and rolling an additional dice actually builds anticipation in this case.
Hit Location: Fasten your seatbelts, because we are getting dangerously close to narrative game territory here! When you make a successful test the tens of your result is your Success Level. When you fail a test your Success Level is -1 for every 10% you rolled above your success chance. Yes, we went with a blackjack method, where instead of rolling as low as possible, you have to get as close to your success chance as possible for better results. For example, if your success chance is 51%, a roll of 39 is a success with SL 3, while a roll of 71 is a failure with SL -2. SL 3 usually comes with some boon, while SL -3 is where the really bad things start to happen.
When attacking your foe, choose a hit location you can reach! If your SL is 3 or higher, you hit the targeted location. If your SL is less than 3, you hit the location your target chooses. Normally I allow chosing a location one step away from the targeted one - e.g. if you went for the head and rolled an SL of 2 only, your target can choose to put their left arm, torso, or right arm in harm's way. This option can become critical when someone starts taking criticals, since arm and leg criticals are usually less painful, than getting your skull cracked or gutted.
That's it. So far my players actually liked these changes, though wrapping their head around the alternative SL calculation took some time. Stay tuned for a session report in the near future, where our intrepid adventurers visits an old hag, meets a young feral druid, and kills a Fiend of Slaanesh - all in a day's work!
No comments:
Post a Comment